
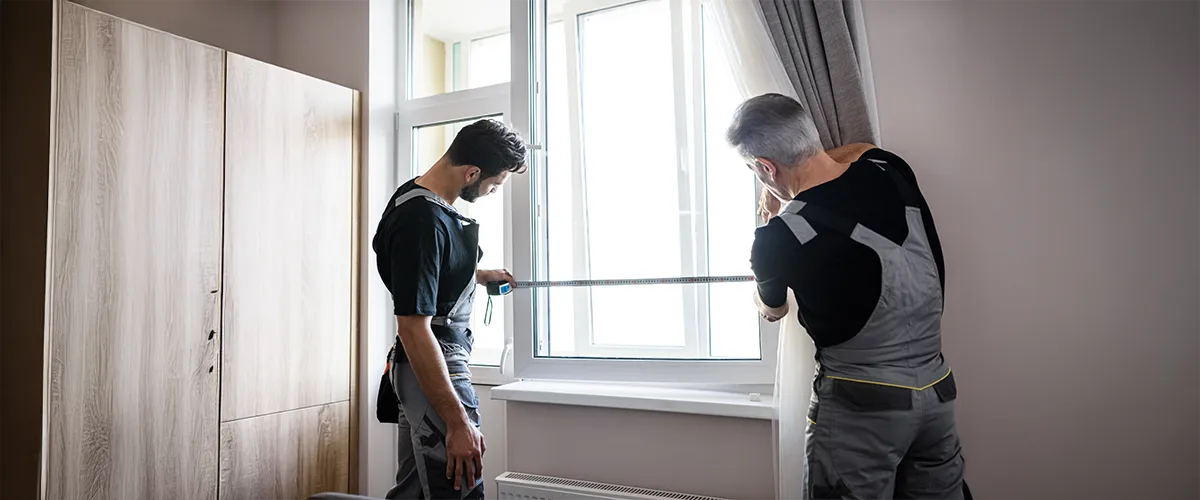
Bay windows hold a rare kind of beauty. Their shape welcomes daylight from every angle and creates an architectural feature that transforms a plain wall into a statement. Yet, their charm also brings a challenge. It’s measuring and fitting them with the right blinds, ensuring a flawless finish. The task requires attention to detail, patience, and the right technique.
Let’s see how exactly it works.
Step 1: Selecting the Perfect Blind
Before the tape measure even leaves its case, pause to choose a blind that complements the bay’s geometry. Each blind type behaves differently when it comes to folds, depths, and angles. The material, the stack height, and the size of the headrail all determine how smoothly the blinds will fit into the recess.
A bay window can meet at 90°, 135°, or curve like a gentle arc. So, every shape needs its own approach. For example, roller blinds suit tight angles and Roman blinds add texture and depth with soft folds.
Also, when deciding between inside or outside mounting, consider both aesthetics and practicality. Inside-mounted blinds fit snugly within the frame, preserving the window’s shape and creating a built-in appearance. Outside-mounted blinds, by contrast, overlap the frame to block gaps completely, ideal for those craving full blackout conditions.
Step 2: Gather Your Tools & Prepare the Space
A 3m metal tape, a spirit level, a steel rule, and a sharp pencil are indispensable. Add a digital angle finder for non-standard bays, plus a cordless drill, assorted screws, wall plugs, and safety glasses. Keep masking tape handy for marking points without damaging surfaces.
Clear away any curtains, poles, or ornaments from the bay. If the bay is timber, pre-drill pilot holes to avoid splintering. For brick or masonry, use the hammer setting on your drill and appropriate wall plugs.
Finally, snap a quick photo of each window face. Those pictures will become invaluable later when you place your order.
Step 3: Measuring Width with Precision
Now comes the serious part, where every millimetre matters. Start with the width, measuring each section of the bay window separately. Mark a line 50–100 mm back from the front edge of the recess. This setback prevents the hardware from brushing against glass or handles.
Use your metal tape to record three measurements for each section, top, middle, and bottom. Write down the smallest measurement for inside mounts. For outside mounts, add 50 mm on each side to achieve full coverage and 100 mm above to hide the top roll or headrail.
Avoid common measuring pitfalls.
- Never use a cloth tape, which can stretch.
- Always measure against the frame, not the plaster.
- Double-check that you haven’t deducted clearance twice, especially for Venetian blinds where headrails already include manufacturer allowances.
Step 4: Measuring the Drop for Perfect Length
The drop defines how long the blinds will hang. A blind that stops short of the sill looks incomplete, while one that drags on the sill gathers dust and wrinkles. So, close the windows and measure vertically from the top recess to the sill or desired endpoint. For sill-length blinds, stop 10 mm above the sill. For floor-length blinds, leave 10–20 mm clearance above the floor or skirting.
Now, measure three points per section: left, middle, and right. Inside mounts require the shortest drop, while outside mounts use the longest. Add the height of the headrail or cassette, which typically ranges from 35–45 mm for rollers and slightly more for Romans.
Repeat the entire process from another angle. If any two figures differ by more than 3 mm, measure again. Accuracy avoids future disappointment. Label each section clearly to keep the order consistent when installation day arrives.
Step 5: Understanding Deductions and Finalising Measurements
Raw measurements alone do not translate directly into production numbers. Each manufacturer subtracts or adds small allowances for brackets, headrails, and running clearance. So, one has to read the factory guide carefully. For instance, roller blinds often receive a 5–7 mm deduction, while Venetian blinds might need up to 12 mm for headrail clearance. That is why you should not apply extra deductions yourself unless instructed.
For outside mounts, add overlap of 50 mm on both sides and 100 mm above the opening. Bedrooms that crave blackout can push that side overlap to 70 mm to block dawn’s first rays.
You can also create a spreadsheet for clarity, listing each section’s width, drop, mount type, and colour. Clear organisation means smooth sailing once the blinds arrive.
Step 6: Installing Brackets and Headrails
With all the numbers locked in, grab your drill.
- Begin with marking your fixing points using pencil and spirit level.
- Hold a bracket against the mark and project a straight line across the bay.
- Pre-drill pilot holes.
- Timber frames require 30 mm wood screws after a 2 mm pilot.
- Aluminium or uPVC frames need self-tapping screws at low speed to prevent cracking.
- Masonry surfaces call for 6 mm bits, nylon plugs, and 40 mm countersunk screws.
- Always vacuum dust before inserting plugs.
Maintain a uniform setback for every bracket. A straight, consistent line ensures each blind sits level and flush. For corner connections, use supplied elbow joints or clips. Vertical and Venetian blinds often join at angles, while roller blinds meet edge-to-edge. Leave a tiny 2–3 mm breathing gap to avoid rubbing when in motion.
Step 7: Making Adjustments
Clip each blind into its bracket. For rollers, insert the pin end first, then snap the control side into position. Venetians and Romans slide into their brackets and lock with a lever or clip. But you should ensure each headrail is seated securely before releasing your grip.
Next, check alignment. Lower all blinds fully and compare the bottom edges. Adjust cords, chains, or ratchets to level the drop. Remove sag by tightening cords evenly. Minor tweaks can transform the overall appearance from acceptable to flawless.
Run operational tests. Raise, lower, and tilt each blind. Gaps between panels at corner junctions should remain under 3 mm. If one blind tilts sideways, adjust its brackets or insert a thin shim and if a chain feels stiff, remove one bead link to loosen it. Keep tinkering until every movement flows smoothly.
The Final Touch
With all that being said, fitting blinds is a professional’s work. All the precision we need is only possible with experience and expertise. If you agree, you can connect with our team at Elite Roller Shutters. We will help you with all your blinds solutions.
 1300 919 999